It is recommended using a Linux server to install IceHrm. When selecting a OS for the server, select an OS version with long-term support. For this tutorial, we will be installing IceHrm on a VPS (virtual private server) running Ubuntu 22.04 (LTS). For creating a VPS you may use a provider like AWS, Linode or DigitalOcean. Here we will be using a droplet from DigitalOcean.
After you get the credential for your server, connect to it via SSH. You can learn a few tricks about connecting to your server via SSH here.
Install PHP
IceHrm is a PHP-based application. You should have PHP 7.4, 8.0 or 8.1 to run IceHrm on your server. Just a note, I’m using PHP 8.1 for this tutorial since at the time oft this writing, IceHrm has not been fully tested on PHP 8.2. But most probably it should work on PHP 8.2 as well.
Install PHP and supporting modules with the following commands:
sudo apt update
sudo apt install php8.1-fpm php8.1-cli  php-mysql
sudo apt install php8.1-opcache php8.1-curl php8.1-common php8.1-xml
Install MySQL
IceHrm needs a database to store all the data related to the application. IceHrm uses MySQL as the data storage, which is a popular database management system. The current MySQL version is 8.0.34 which is supported by IceHrm.
Install MySQL by running the following command:
sudo apt install mysql-serverOnce the installation has been completed, it is advisable to initiate a security script that is included with MySQL by default. This script is designed to eliminate certain insecure default configurations and secure access to your database system.
To commence the interactive script, execute the following command:
sudo mysql_secure_installationYou will be asked if you want to validate password strength. If you select Yes, then all user passwords need to pass a certain security criteria. But it’s still safe to keep this disabled. Just type <Enter / Return> key when prompted.
Connecting to MySQL using a blank password.

VALIDATE PASSWORD COMPONENT can be used to test passwords
and improve security. It checks the strength of password
and allows the users to set only those passwords which are
secure enough. Would you like to setup VALIDATE PASSWORD component?

Press y|Y for Yes, any other key for No:
Select “Yes” for remove anonymous users prompt.
Remove anonymous users? (Press y|Y for Yes, any other key for No) :Select “Yes” for Disallow root login remotely. This will prevent attackers from trying to guess root password and access your database.
Disallow root login remotely? (Press y|Y for Yes, any other key for No) :Select “Yes” for the prompt Remove test database and access to it.
Finally, select “Yes” to Reload privilege tables.
When you have administrator privileges you don’t need a password to login as the MySQL root user.
sudo mysqlNow type “quit” to exit mysql console. Congratulations, you have finished installing MySQL.
Install Nginx
IceHrm is a web application. It needs a web server to run. IceHrm is tested on both Nginx and Apache Web Servers. But we recommend using Nginx web server as we primarily test IceHrm on Nginx.
If you would like to learn more about Nginx, which is not a requirement for installing IceHrm, please visit the official Nginx documentation.
To install Nginx, use:
sudo apt install nginxWhen prompted, press Y and ENTER to confirm that you want to install Nginx. Once the installation is finished, the Nginx web server will be active and running on your Ubuntu 22.04 server.
Allow incoming HTTP traffic to your server:
sudo ufw allow 'Nginx HTTP'
sudo service nginx restart
It’s not ideal to only use HTTP, instead of using HTTPS. But for this tutorial I’ll stick with HTTP and discuss switching to HTTPS in another article.
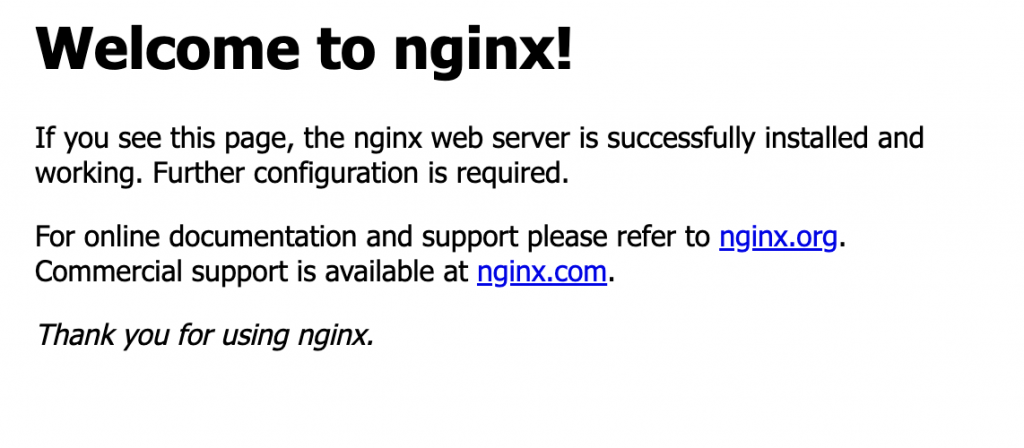
Now find the Public IP address of your server. And use it (e.g http://152.XXX.XXX.XXX) to access the default Nginx page. You should see something like this:
Prepare Nginx Site Configuration
To run PHP applications, some nginx configurations need to be updated. The page you’ve seen above is coming from the default nginx configuration. We should first disable the default site.
Before this, a little understanding of where the Nginx site configuration files are located is vital.
- Nginx store site configuration files on path:
/etc/nginx/sites-available - But these are symlinked and loaded from:
/etc/nginx/sites-enabled. Due to this when we want to exclude a site, from Nginx we can just remove the symlink instead of the original file.
Delete the symlink to the default site configuration in /etc/nginx/sites-enabled.
sudo rm /etc/nginx/sites-enabled/defaultNow create the nginx site configuration for IceHrm:
sudo nano /etc/nginx/sites-available/icehrmCopy the following content into the file:
This configuration contains some location blocks to prevent direct access to IceHrm core PHP files and data files. These two location blocks are vital to keep your IceHrm installation secure.
Also, it contains the configuration to activate IceHrm rest API.
server {
	listen 80 default_server;
	listen [::]:80 default_server;

	# SSL configuration
	#
	# listen 443 ssl default_server;
	# listen [::]:443 ssl default_server;

	root /var/www/icehrm;

	# Add index.php to the list if you are using PHP
	index index.php;

	server_name _;

    # For Rest API
    location /app/api/ {
        try_files $uri /app/api/index.php?/$uri&$args;
    }

    # Prevent access to data directory
    location /app/data/ {
        deny all;
        return 404;
    }

    # prevent access to the core directory
    location /core/ {
        deny all;
        return 404;
    }

    location ~* \.(jpg|jpeg|gif|png|css|js|ico|xml)$ {
        expires 5d;
    }

	# pass PHP scripts to FastCGI server

	location ~ \.php$ {
		include snippets/fastcgi-php.conf;

		# With php-fpm (or other unix sockets):
		fastcgi_pass unix:/run/php/php8.1-fpm.sock;
	}

	# deny access to .htaccess files, if Apache's document root
	# concurs with nginx's one

	location ~ /\.ht {
		deny all;
	}
}
Use Ctrl + X to save and quit from nano editor.
Now create a symlink in sites-enabled directory:
ln -s /etc/nginx/sites-available/icehrm /etc/nginx/sites-enabled/icehrmCheck Nginx configuration
sudo nginx -tIf the above command isn’t successful, that means you’ve made some mistake wile updating the configuration. Probably on the step where you’ve updated the IceHrm nginx site configuration file.
Restart Nginx:
sudo service nginx restartDownload IceHrm Release Files
The instructions in this section will differ based on whether you want to install IceHrm opensource release or IceHrmPro.
First install unzip:
apt install unzipDownload IceHrm Opensource
Download the open-source version of IceHrm from github latest release. On the release page copy the link to the release zip file.
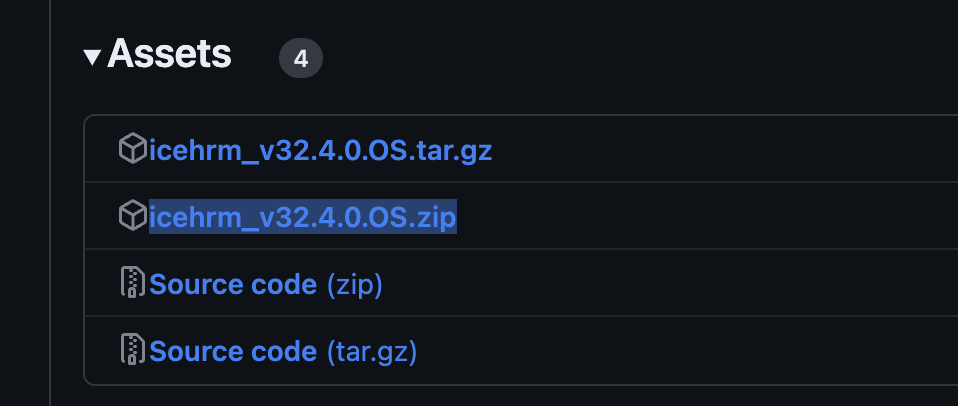
Use the link to the release file to download IceHrm:
e.g: https://github.com/gamonoid/icehrm/releases/download/v32.4.0.OS/icehrm_v32.4.0.OS.zip
Replace <link to the release> with the link to the zip file of latest release.
cd /var/www
wget <link to the release>
unzip icehrm_v32.4.0.OS.zip
sudo rm icehrm_v32.4.0.OS.zip
sudo mv icehrm_v32.4.0.OS icehrm
chown -R www-data:www-data icehrm
Download IceHrmPro
If you have purchased IceHrmPro, you should have received an email containing the download link for IceHrmPro.
Use the link in email to download IceHrmPro:
cd /var/www
wget -O icehrmpro.zip <link to download icehrm pro>
unzip icehrmpro.zip
cd v32.4.1.PRO # the version can be different, run ls, to find exact version
cp -r icehrm_v32.4.1.PRO ../icehrm
cd ..
rm icehrmpro.zip
rm -r v32.4.1.PRO
chown -R www-data:www-data icehrm
Create the Database
The next step is to create the IceHrm Database.
First login to mysql as root:
sudo mysqlCreate a database for IceHrm:
create database icehrm;Create a user (replace <password> with a secure password)
create user 'icehrm_user'@'localhost' identified by '<password>';Grant privileges to the new user:
grant all on icehrm.* to 'icehrm_user'@'localhost';Install the Application
Visit the default URL of the nginx (IP address or hostname of the server with HTTP) to complete the installation. You should see a page similar to the following.
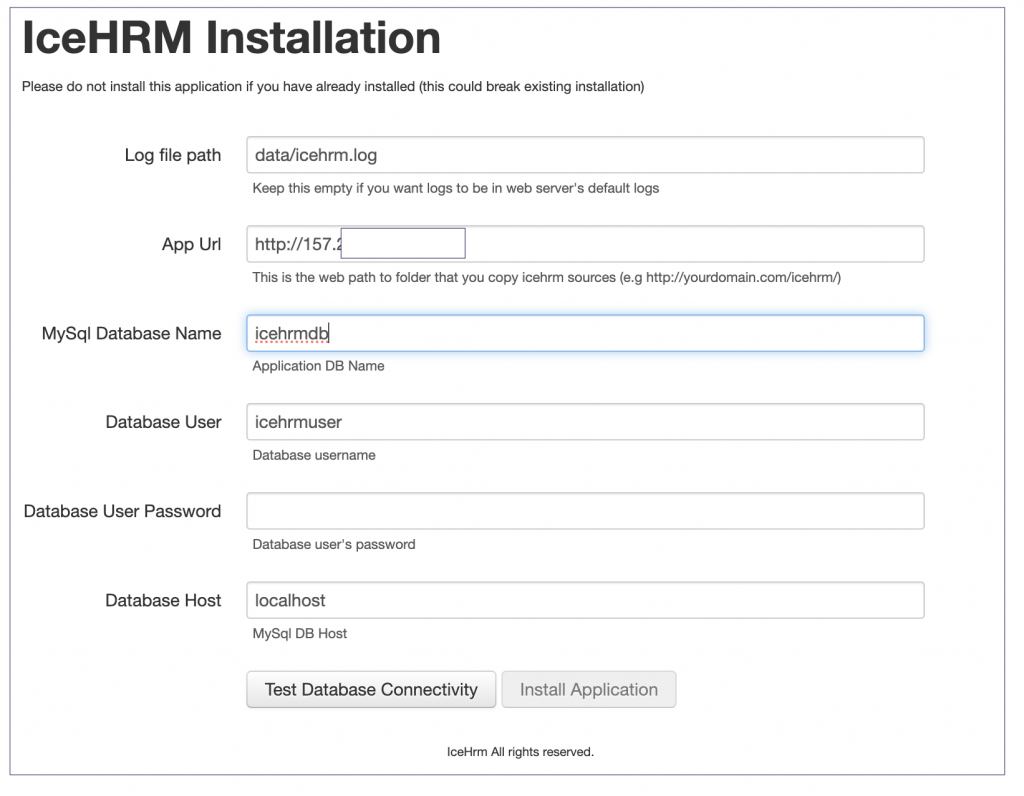
Update the correct database name, database user and password. Then click “Test Database Connectivity” button.
After the database connection is established, you can click “Install Application” to complete the installation.
Then you can login to Icehrm with default user/password which is admin/admin. Please change this password once you logged in.